
The colors are customizable — choose them at the next step.
Mark I
An educational robot that is simple to assemble — no screws or soldering, few components, fully customizable and modular.
The Mark I comes as a kit, unassembled. An interactive 3D tutorial is included: your child assembles it piece by piece in about 1 h, from age 9, with no experience needed. They build their own robot.
Watch the assembly tutorialFeatures
- Built for learning — simple, with few components.
- No screws or soldering, and no glue — everything clips together.
- Customizable — choose the color of each piece before ordering.
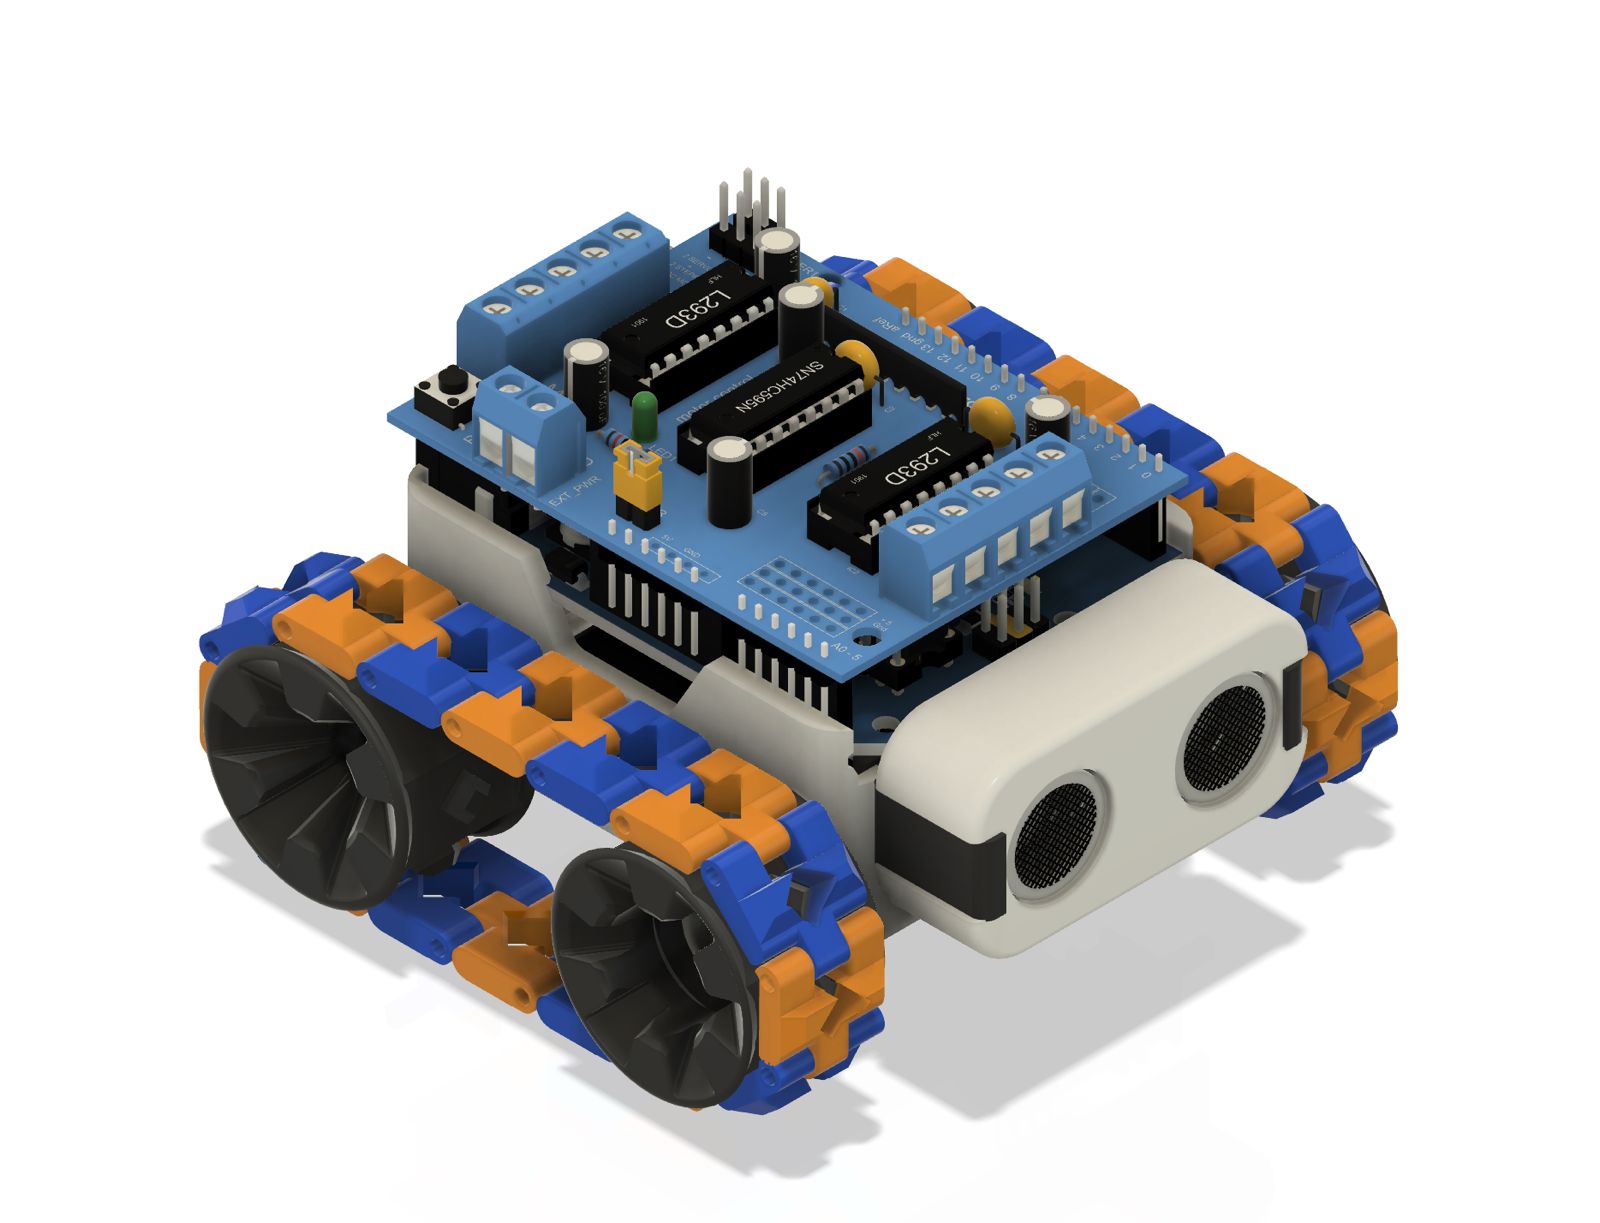
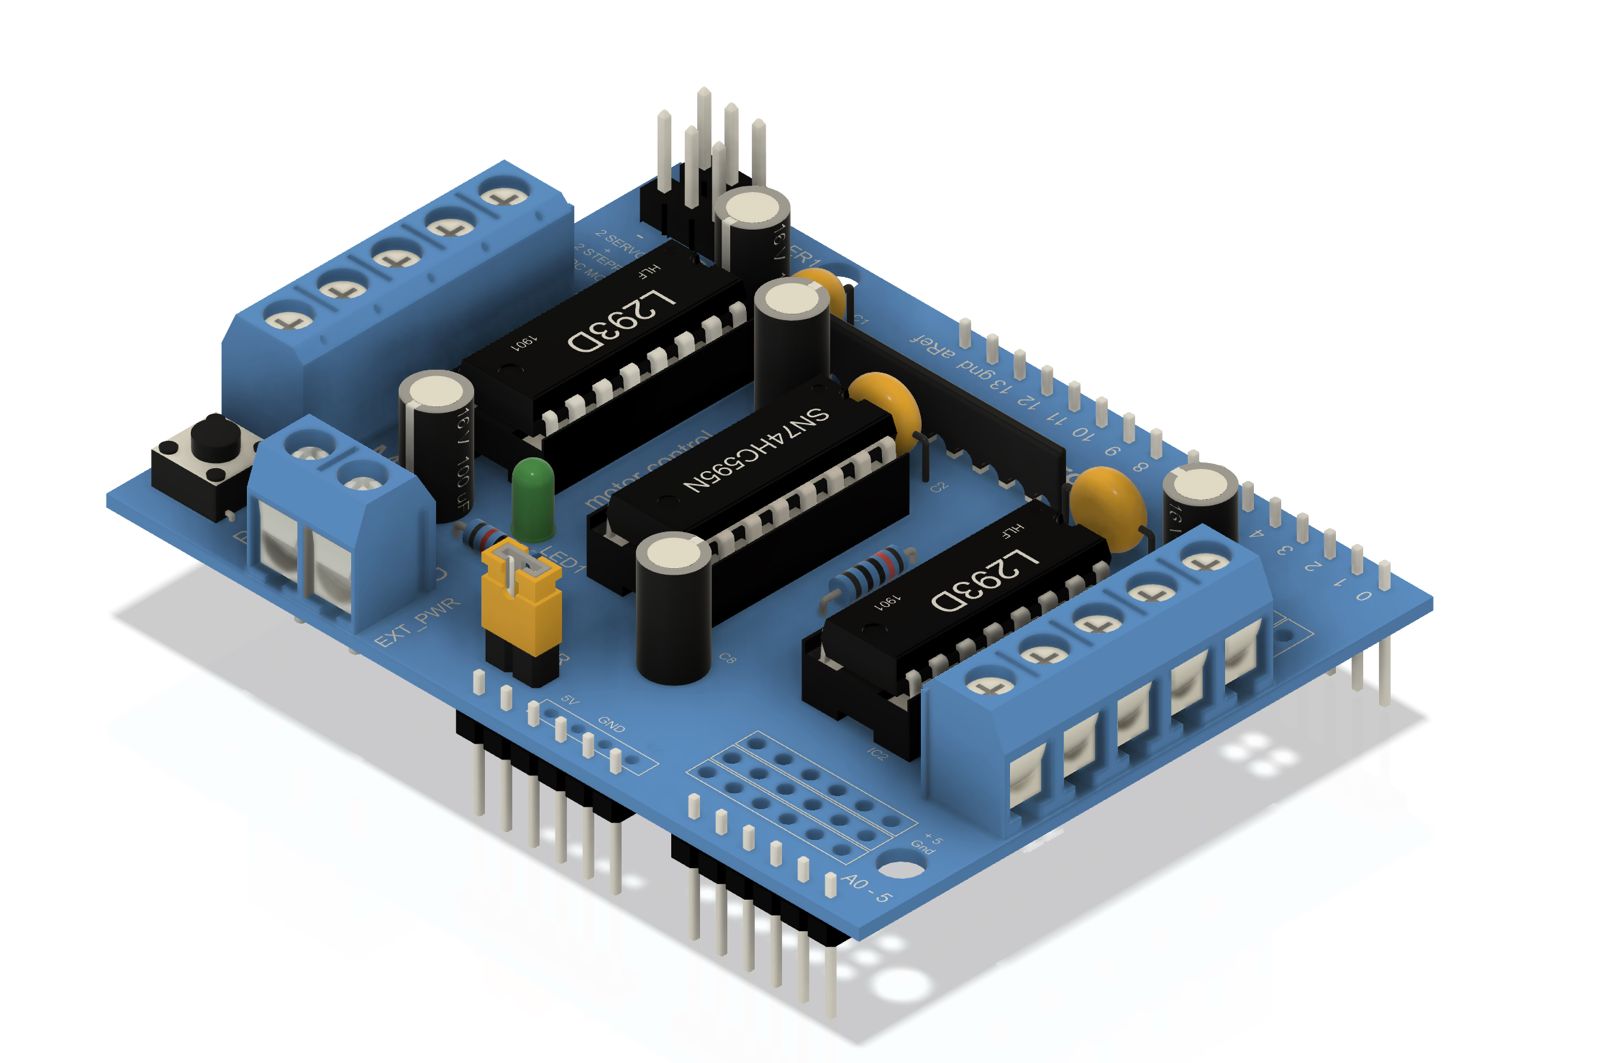
- Motorized — two motors + reprogrammable Arduino board and ultrasonic sensor.
- Modular — add more sensors and tools, or create your own parts.
- Designed & made in Morocco, in Kénitra.
This kit includes
Everything you need to build a complete, working tracked robot.

 ×2
×2
 ×2
×2
 ×2
×2

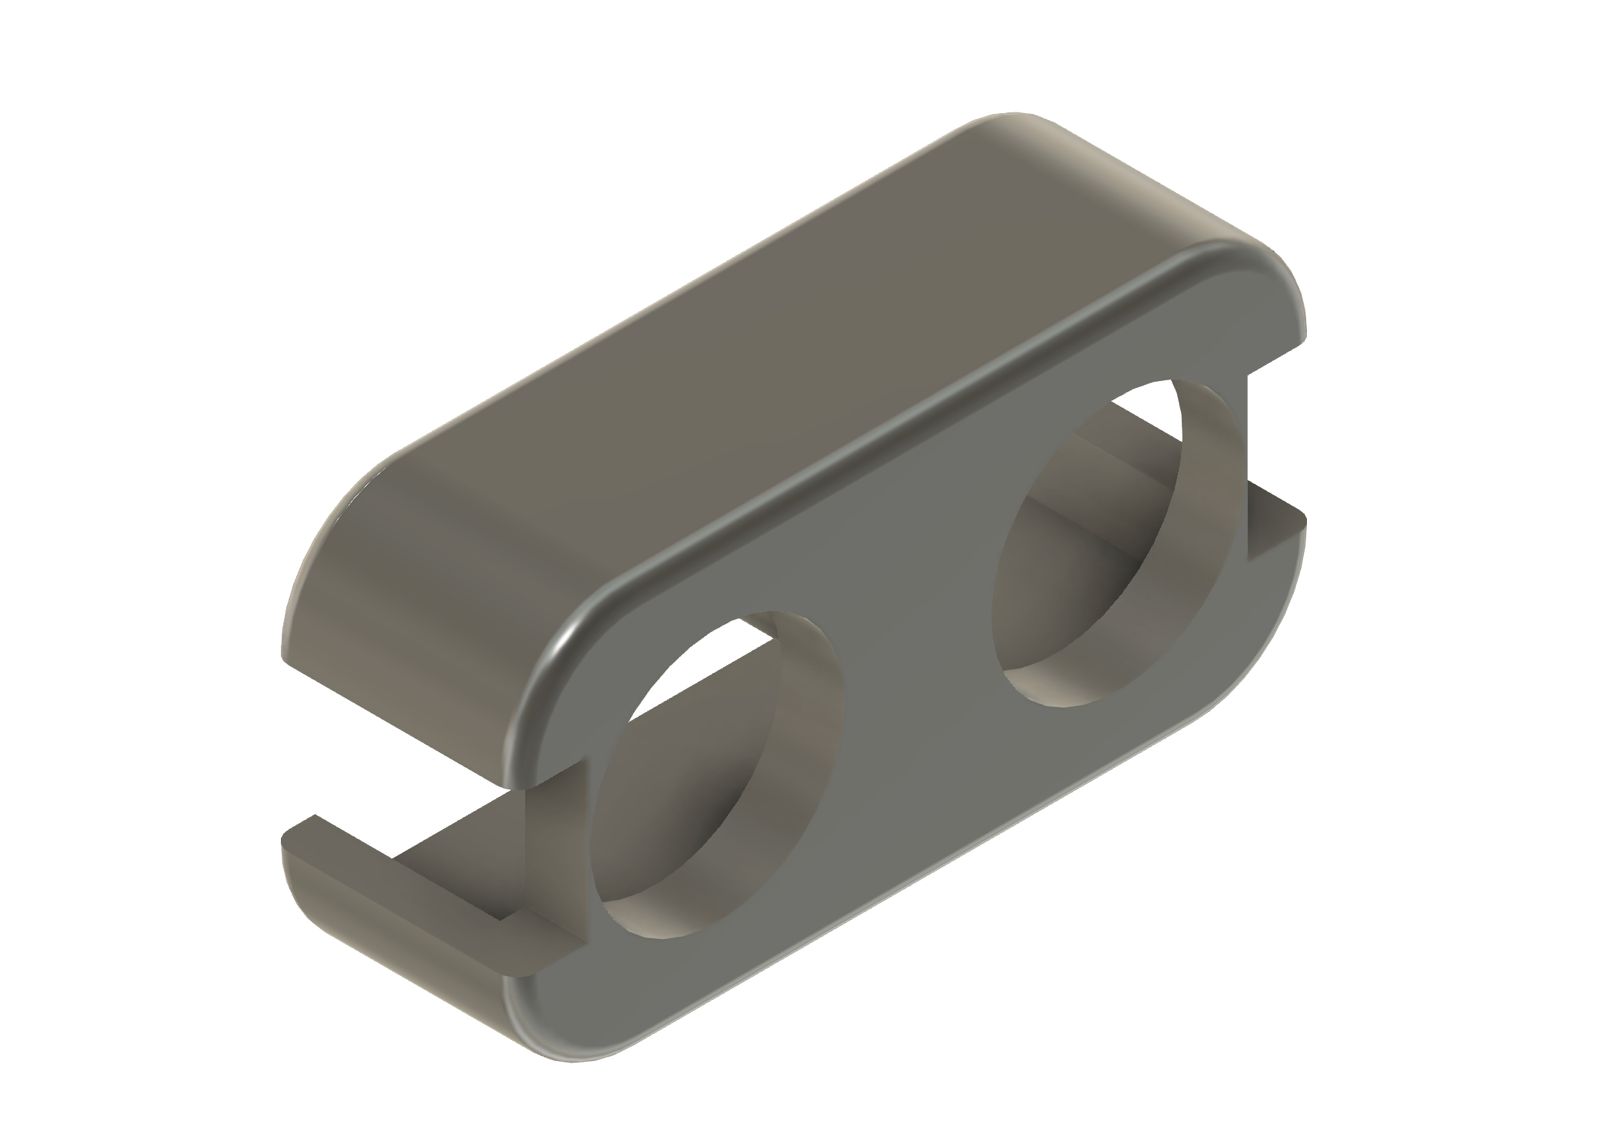
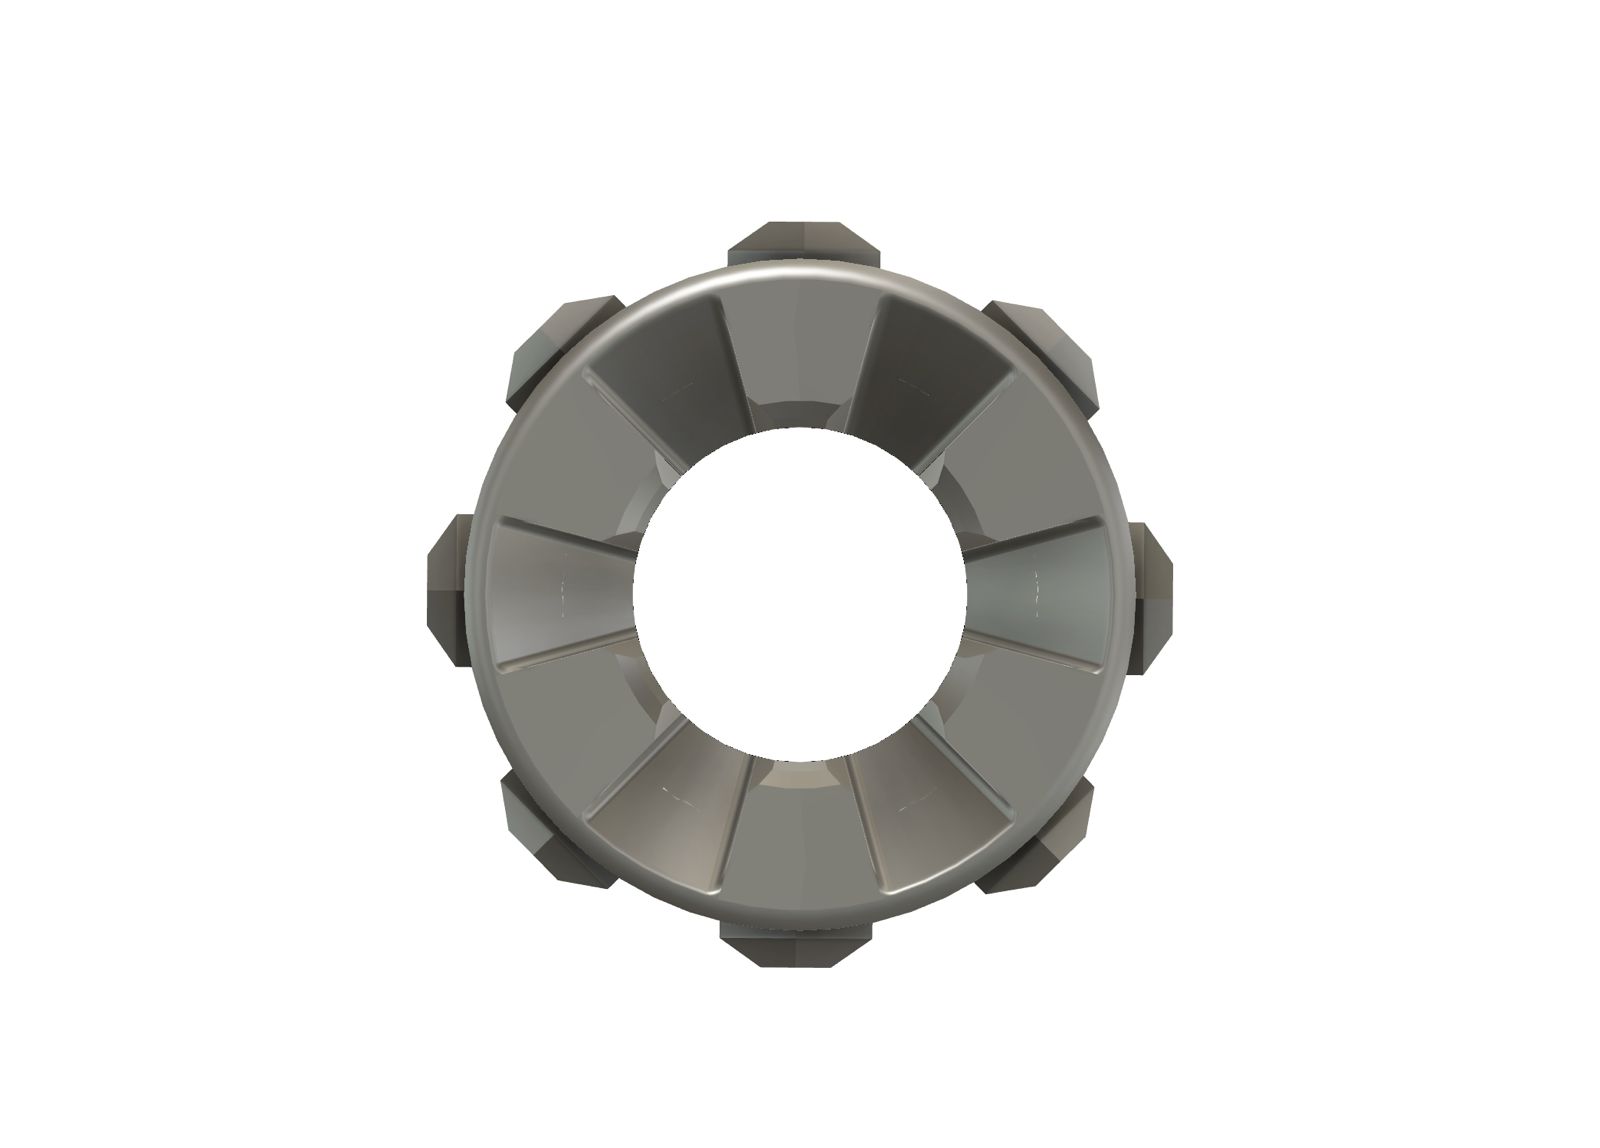
 ×8
×8

Plus the assembly hardware + a step-by-step illustrated guide.

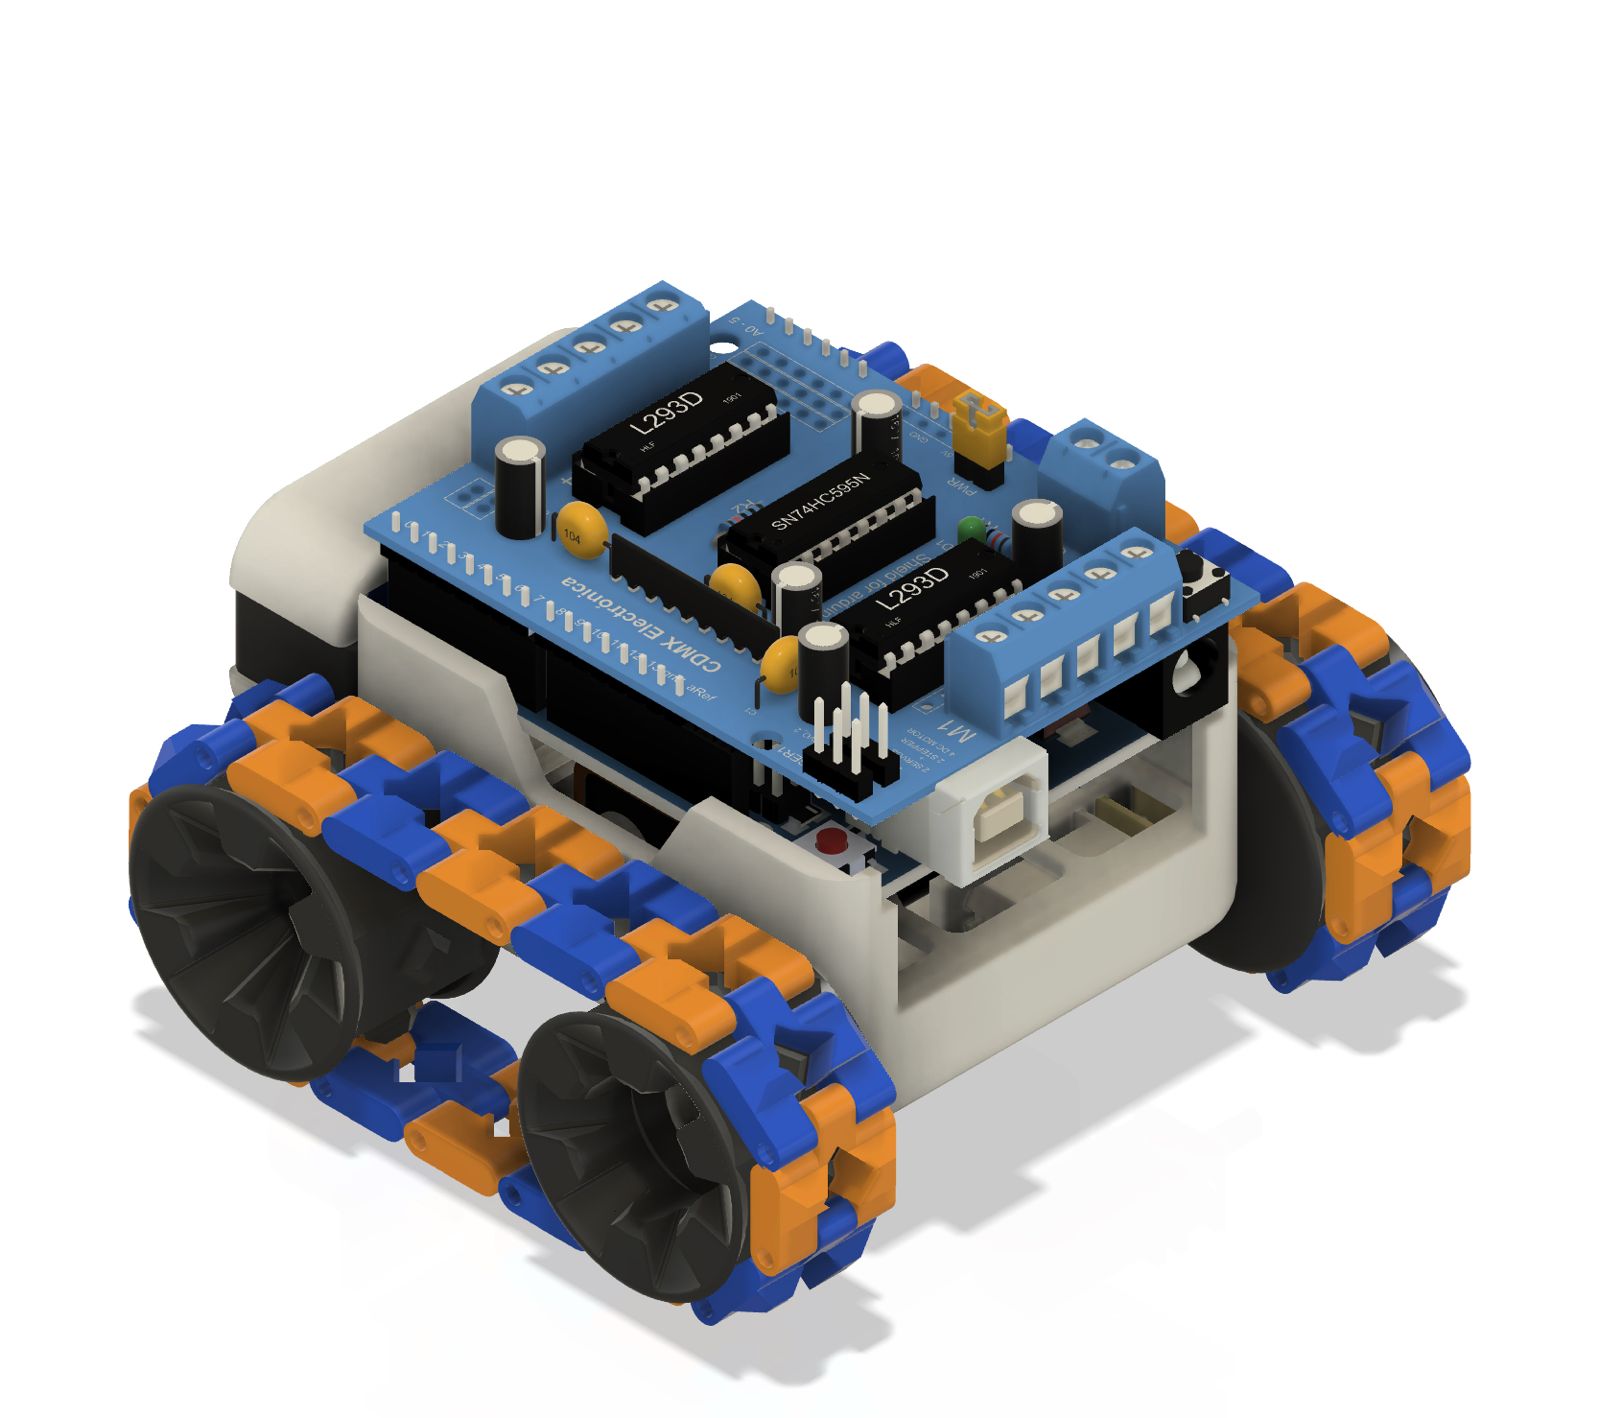
Build your robot.Piece by piece.
A tracked kit your child assembles with their own hands, customizes color by color, then programs to make it roll. From age 9.
Its color, piece by piece
Click each piece and choose its shade from 7 colors, with a live preview. What you build on screen is exactly the robot your child will receive — their own.
- 4 customizable pieces, 7 shades to choose from
- Real-time preview before you order
- Every Mark I is unique
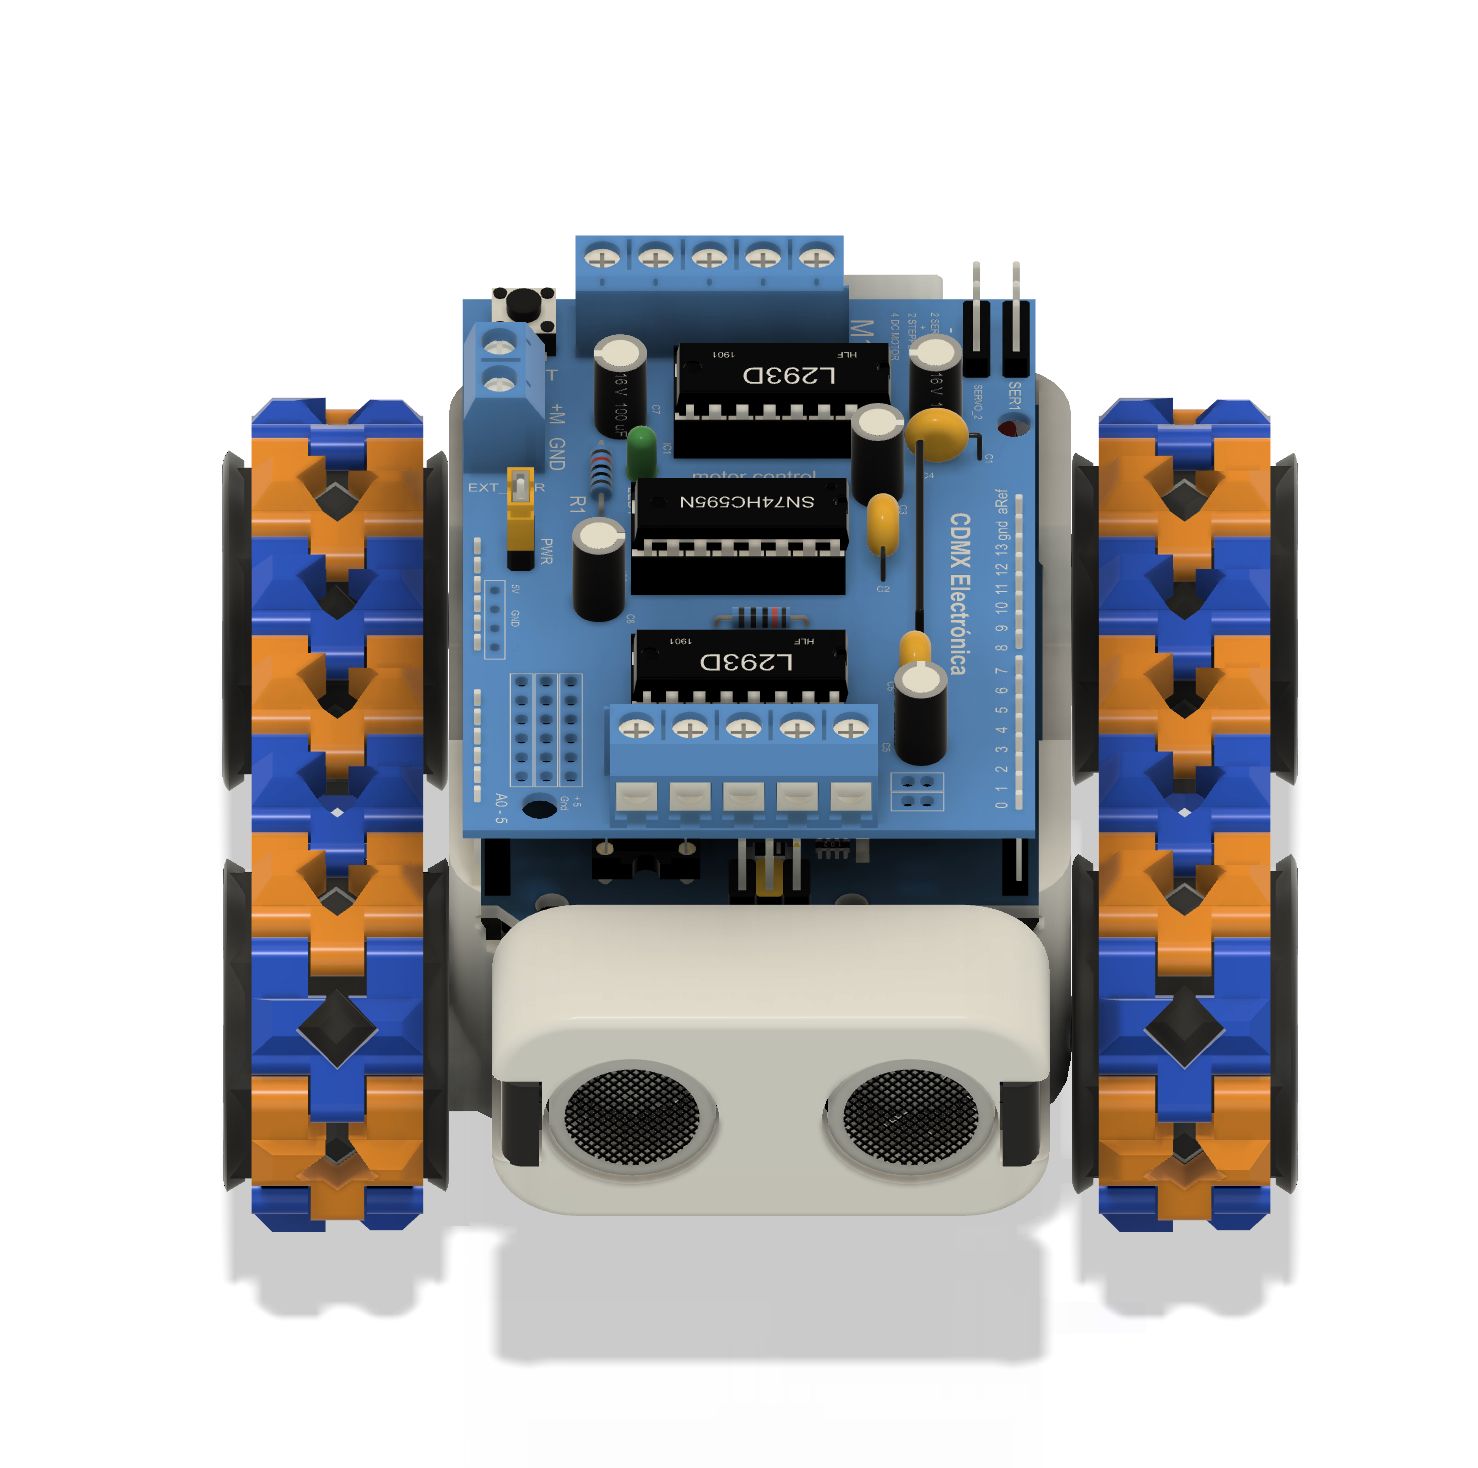
Tracks that go anywhere
The all-terrain tracked chassis rolls over tile, carpet, dirt, or gravel. Two motors handle traction and steering — it turns on the spot like a real construction machine.
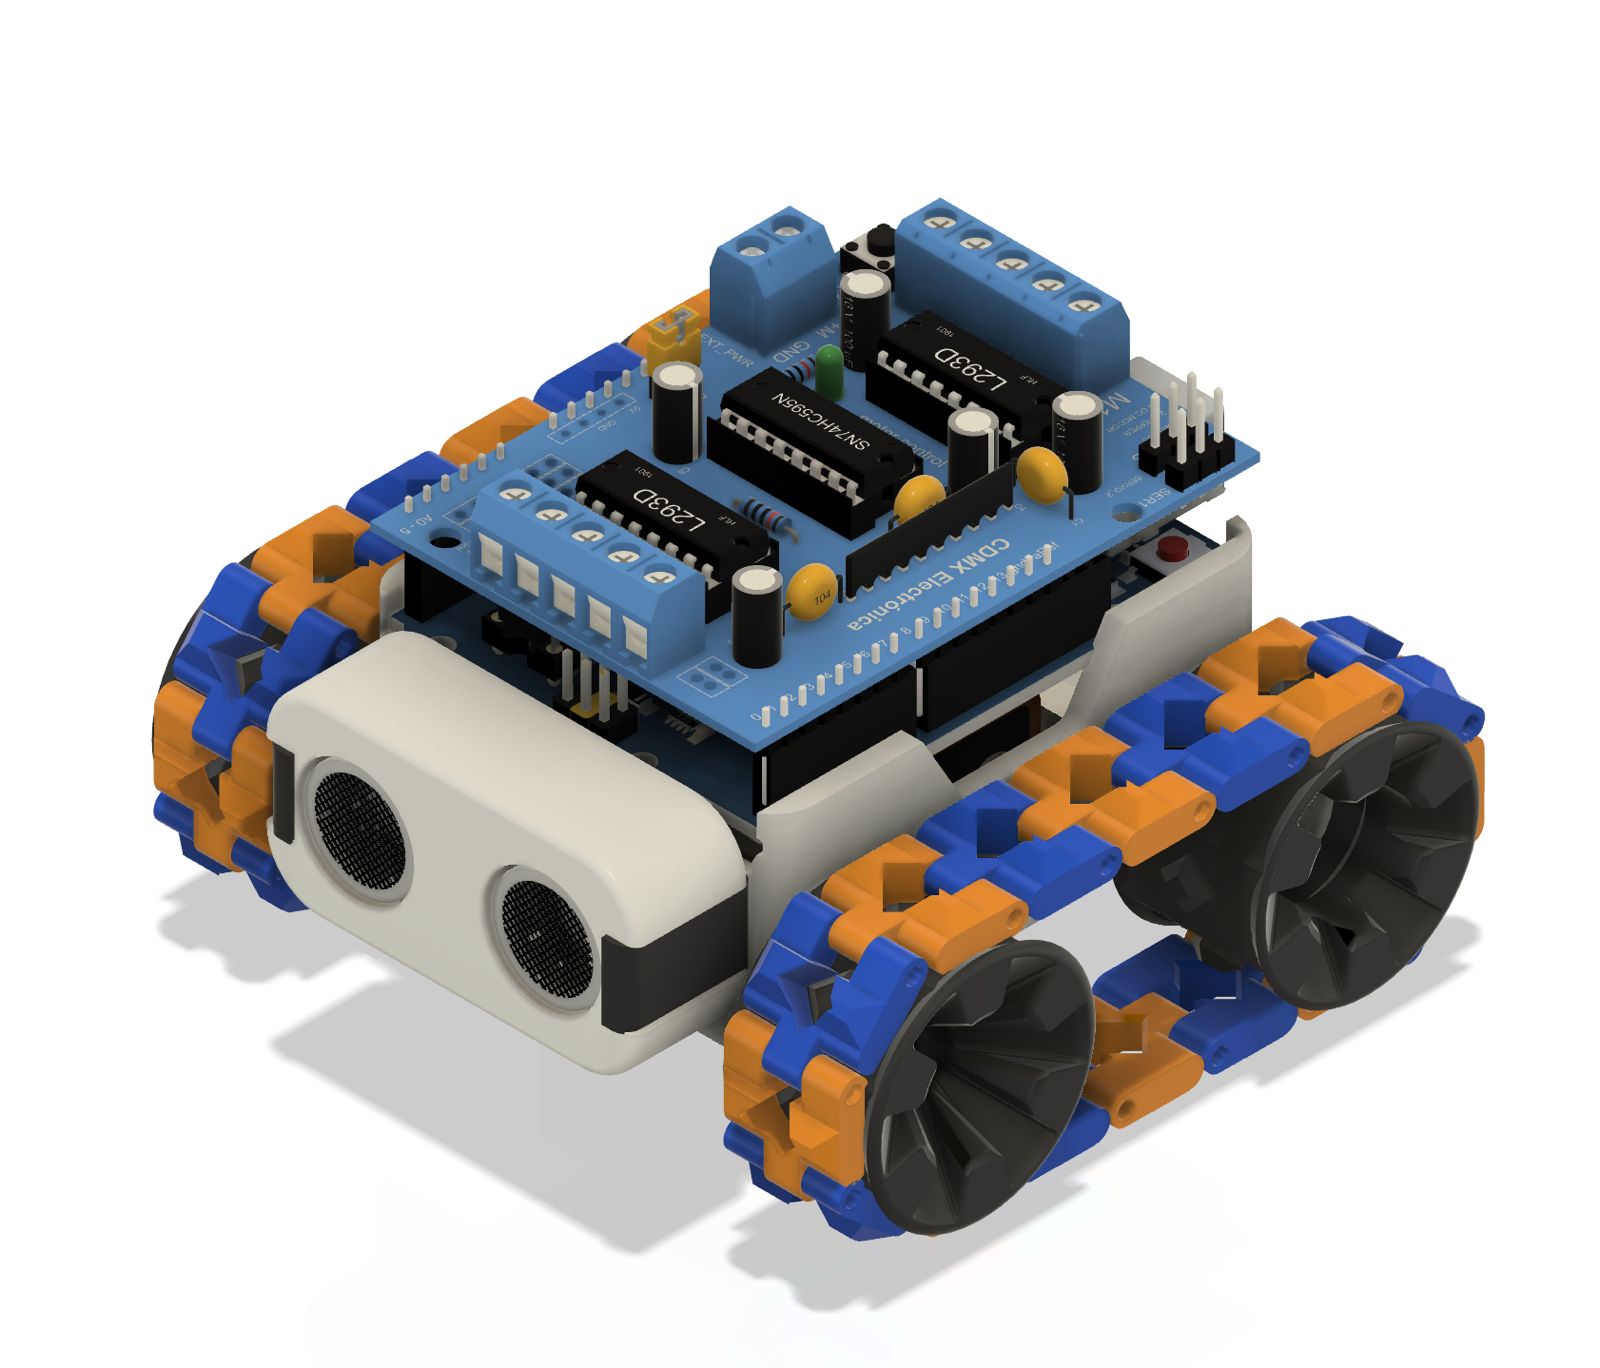
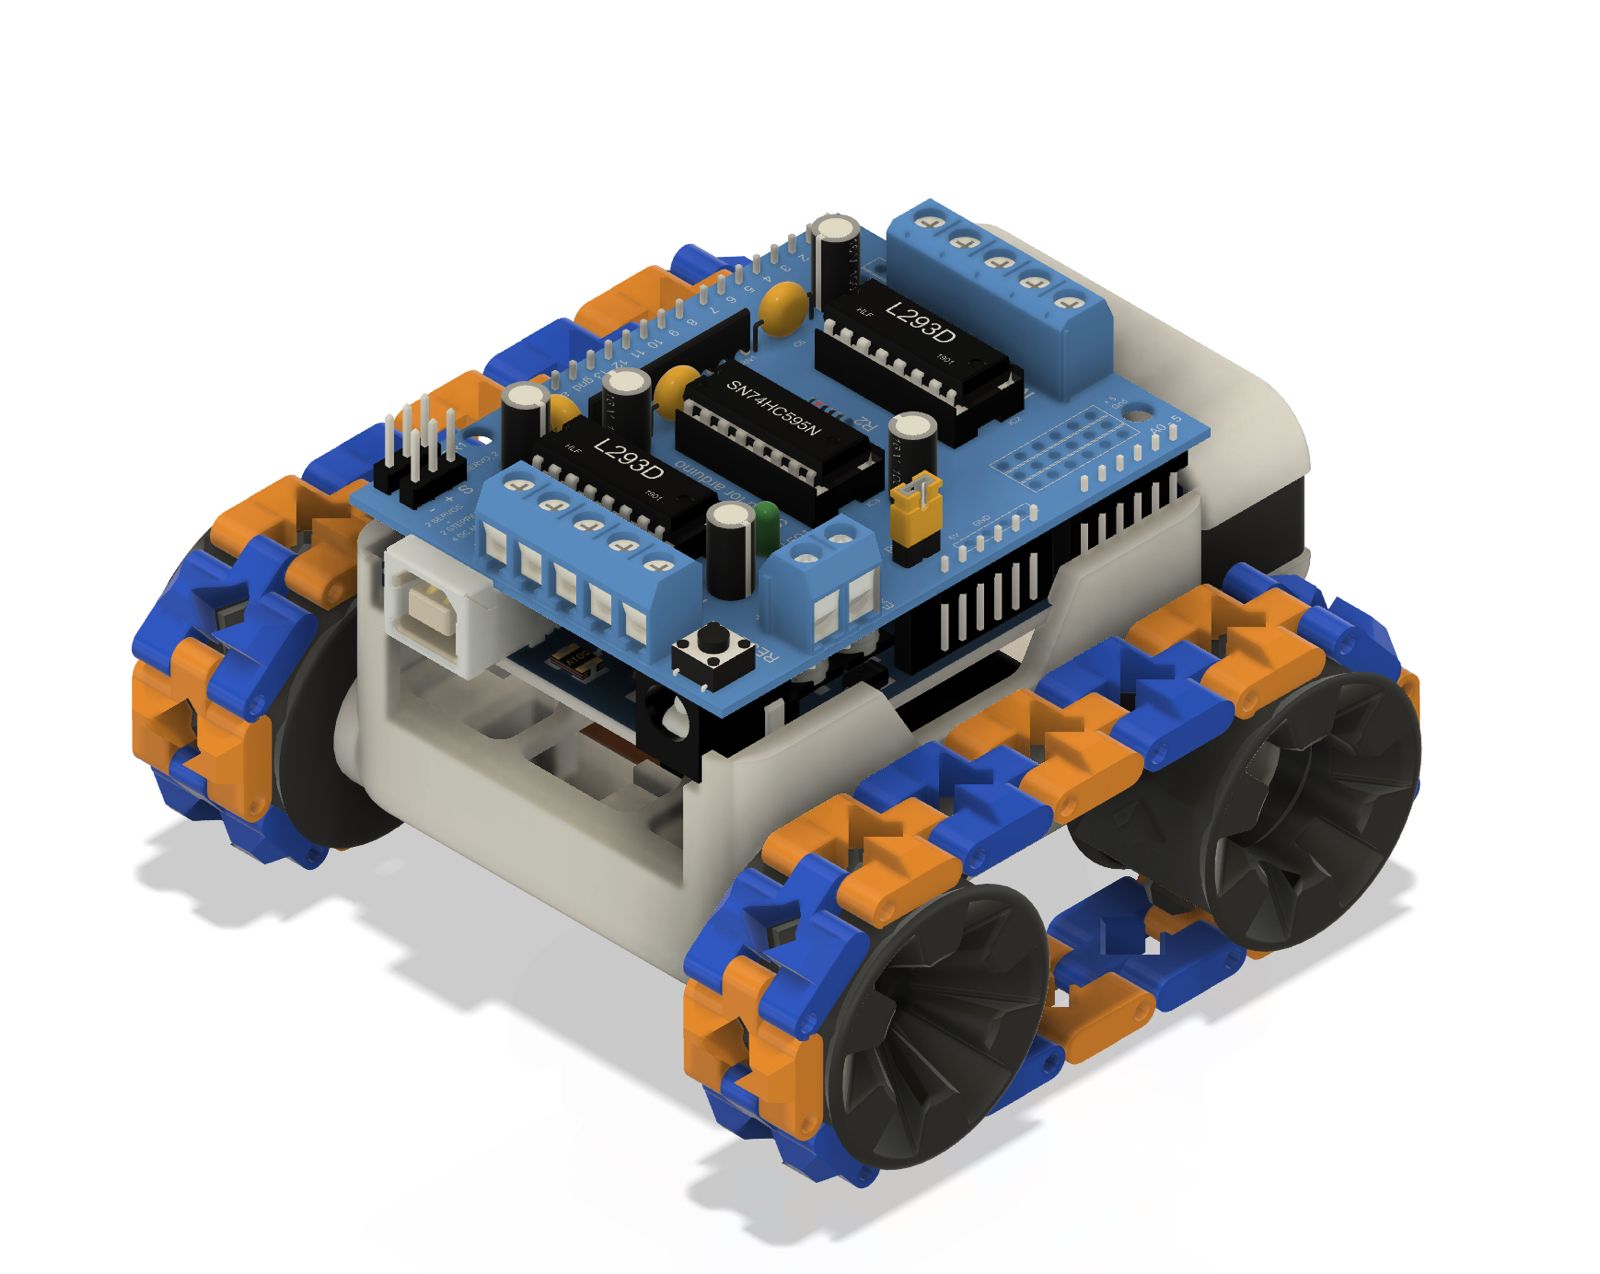
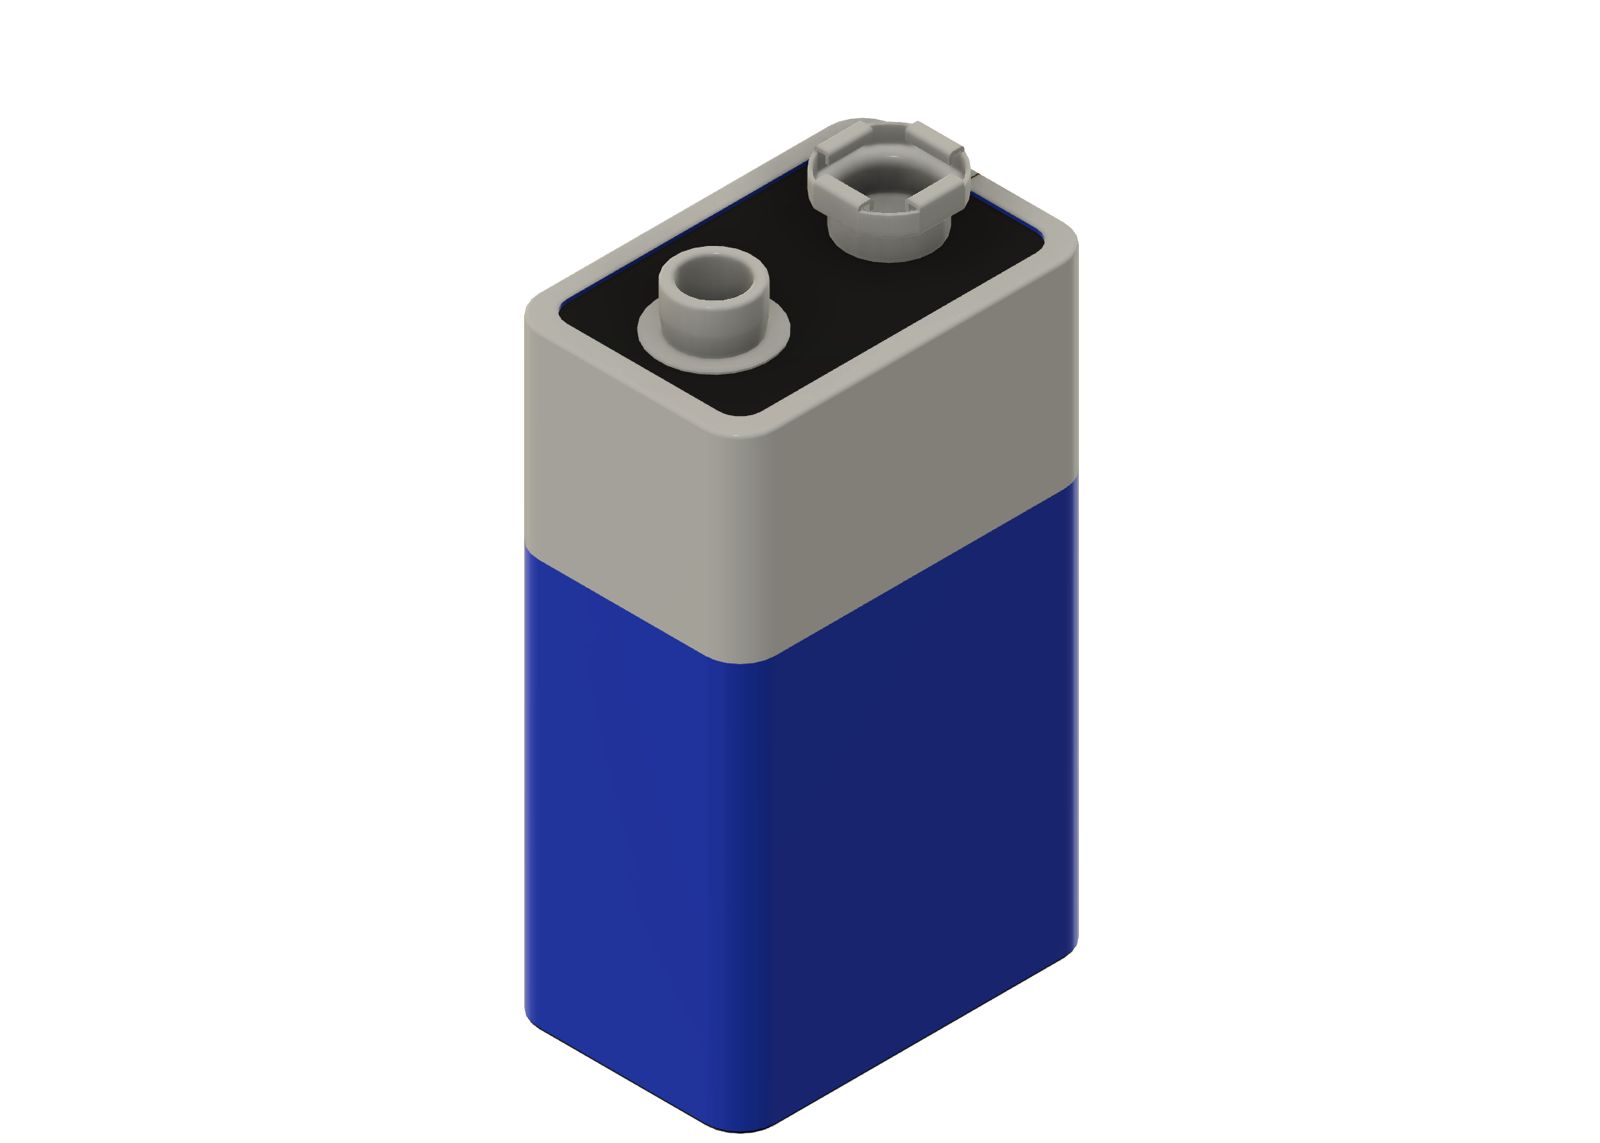
Motorized & reprogrammable
An Arduino board drives the two motors. It comes with a ready-to-use program, but stays fully reprogrammable: your child edits the code and changes how the robot behaves.
- Arduino board reusable for other projects
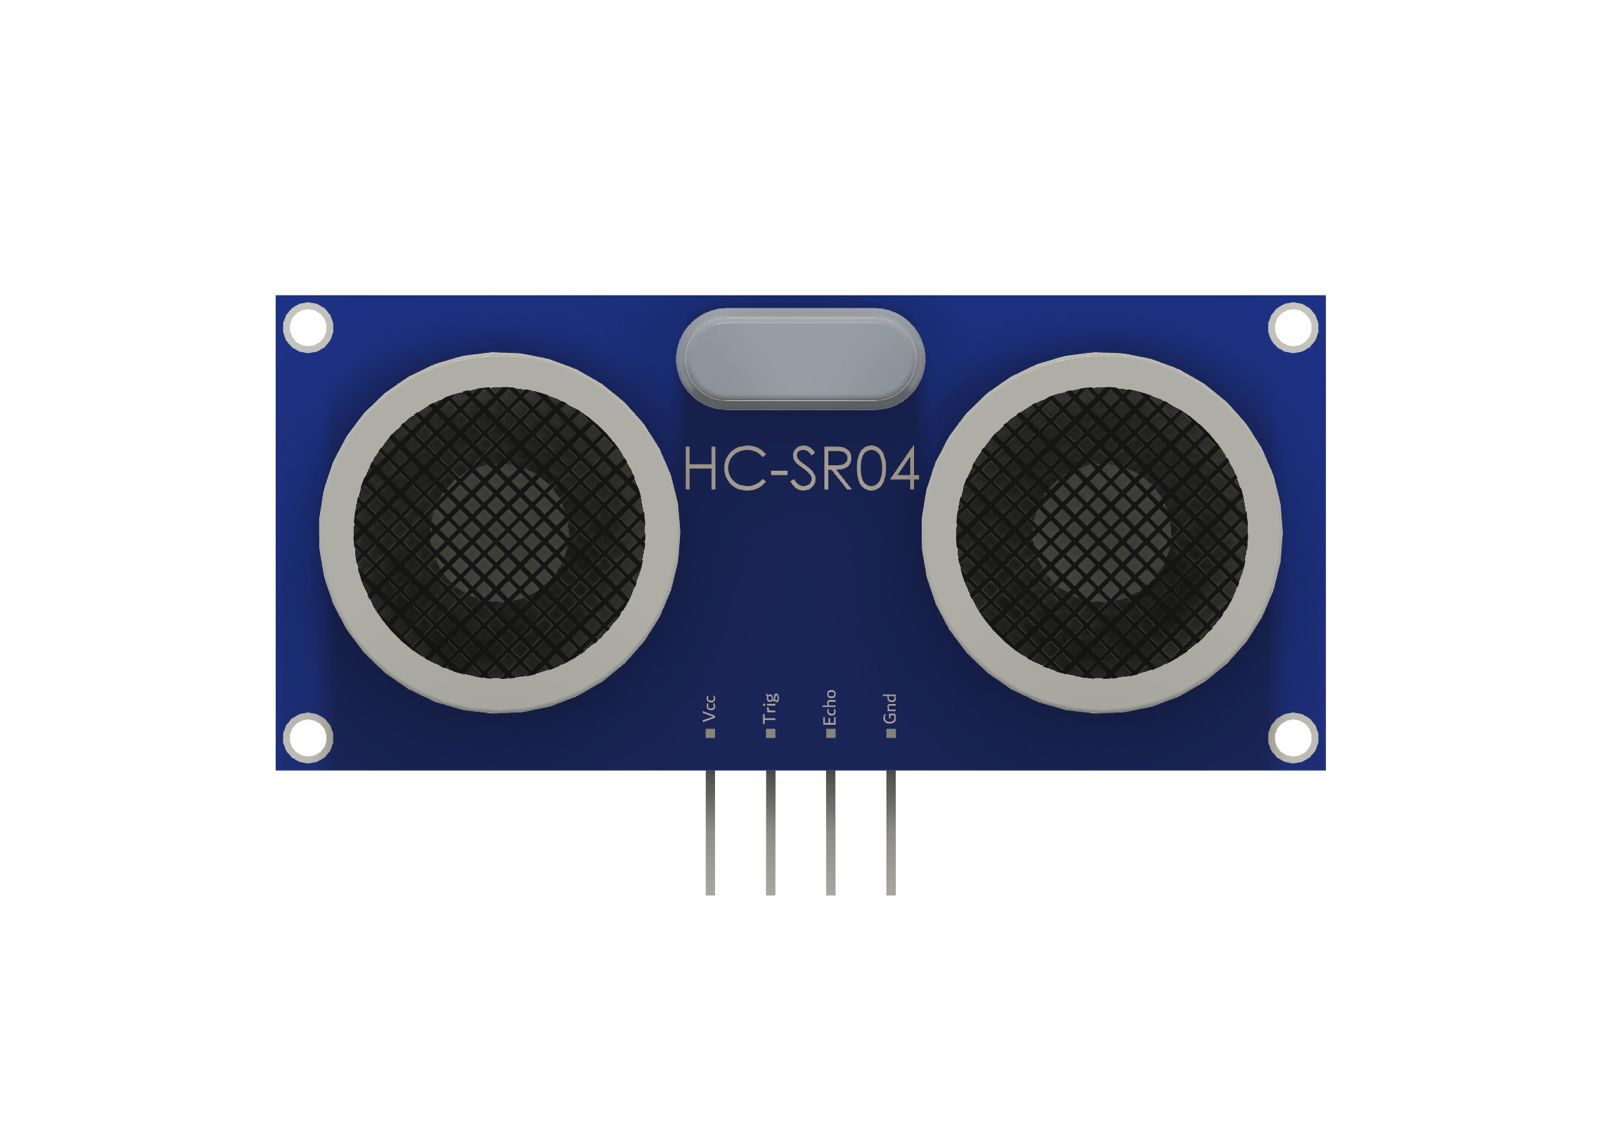
- Ultrasonic sensor to detect obstacles
- Battery powered
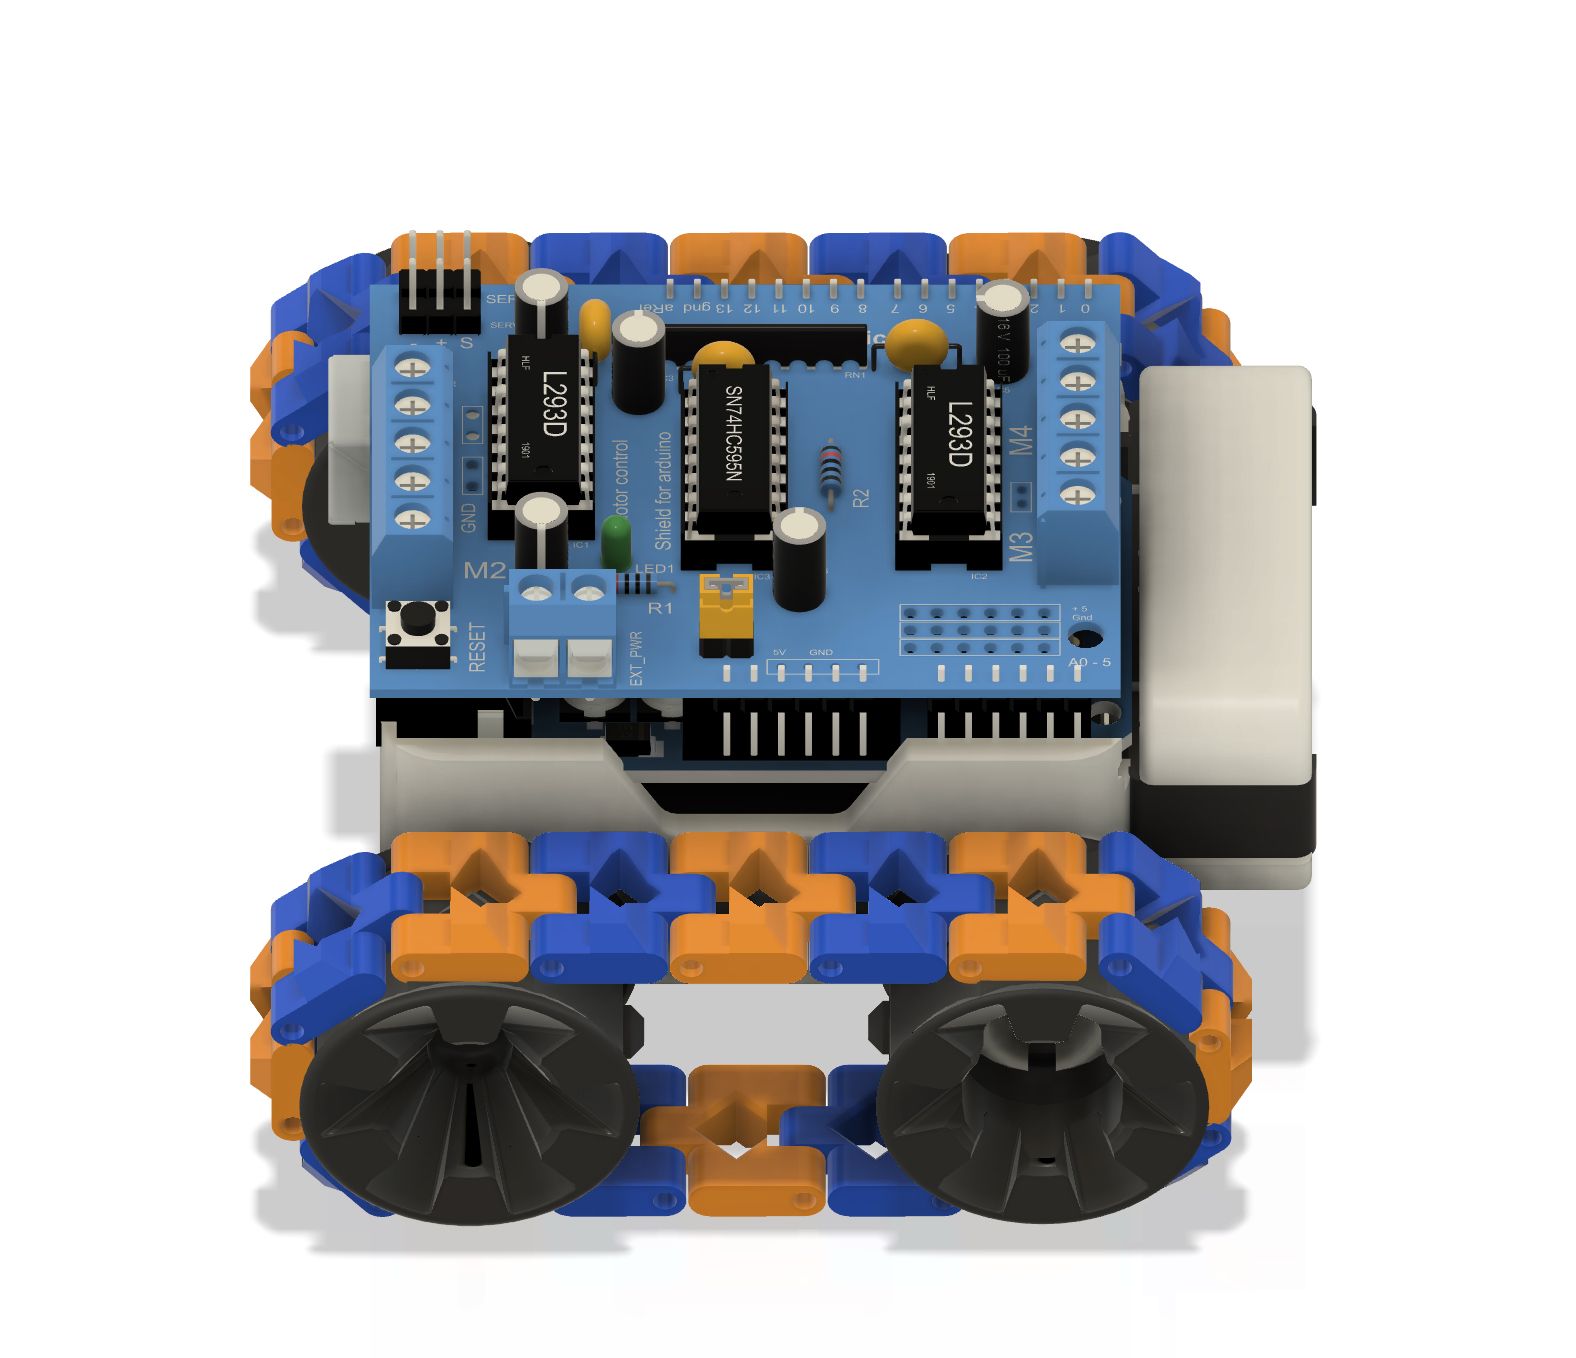
Mechanics, electronics & code
An illustrated step-by-step guide comes with the assembly — count on about an hour, ideal to do together. By assembling their robot, your child gets hands-on with three disciplines, no screen during assembly.
Assembled in 5 steps
An illustrated step-by-step guide is included. Count on about an hour, ideal to do together.
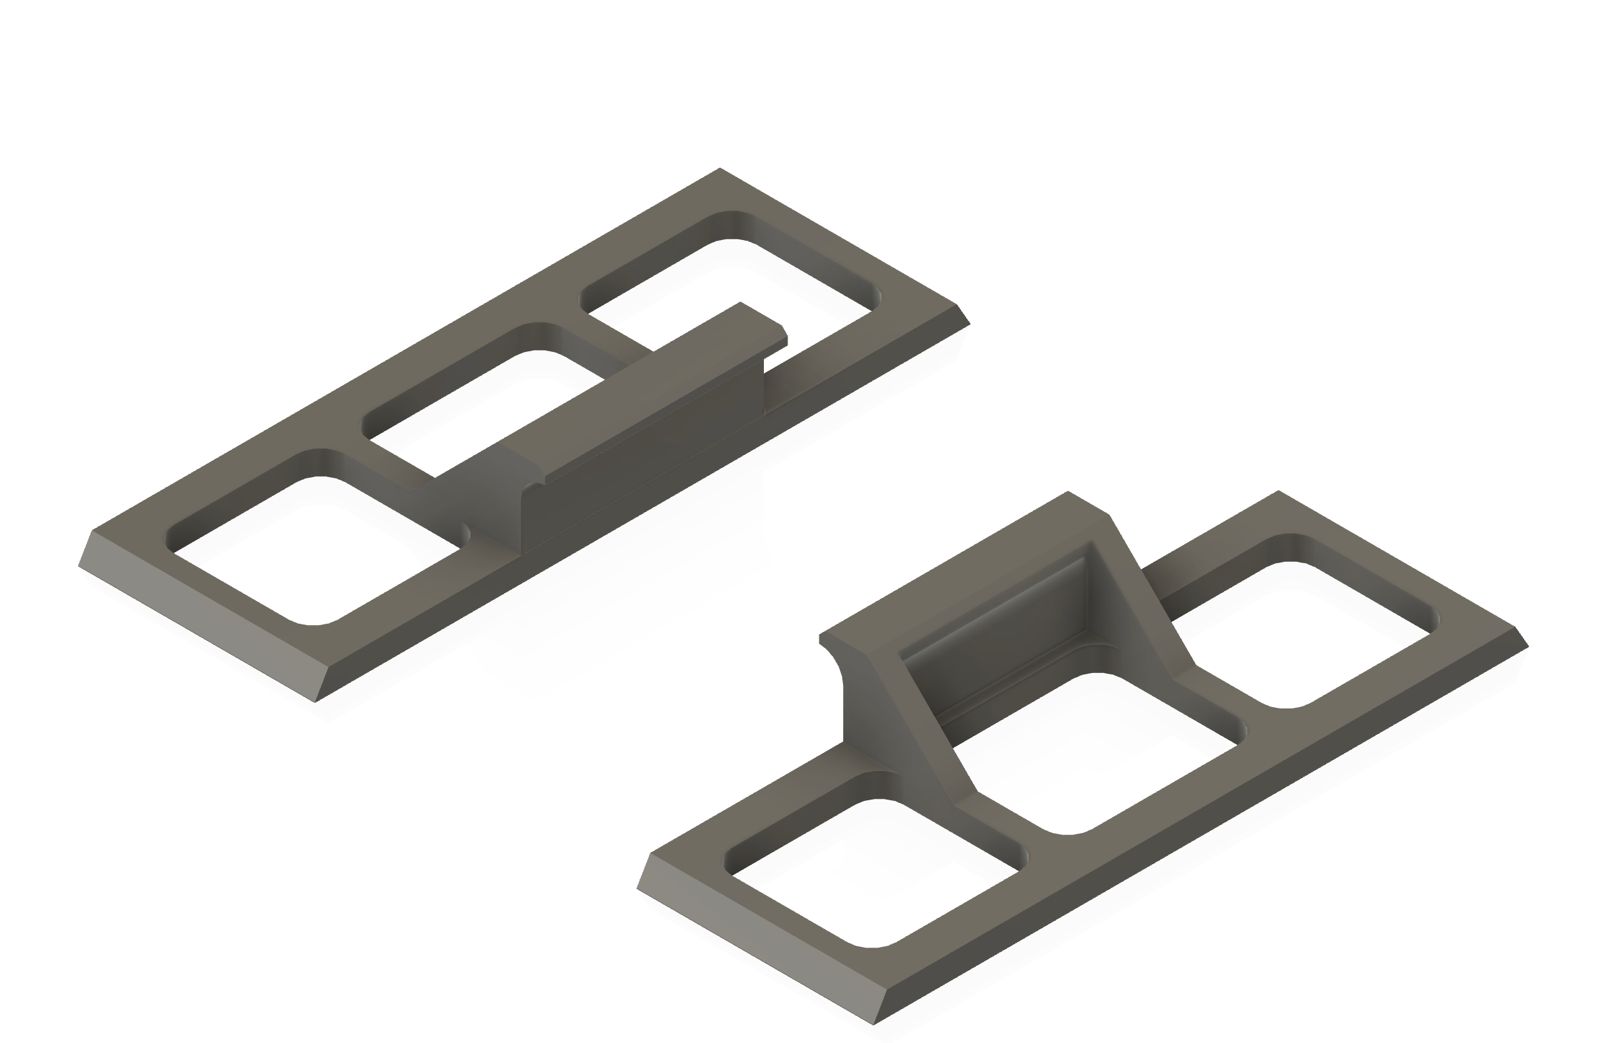
The chassis
Clip the chassis pieces together to form the robot's base.
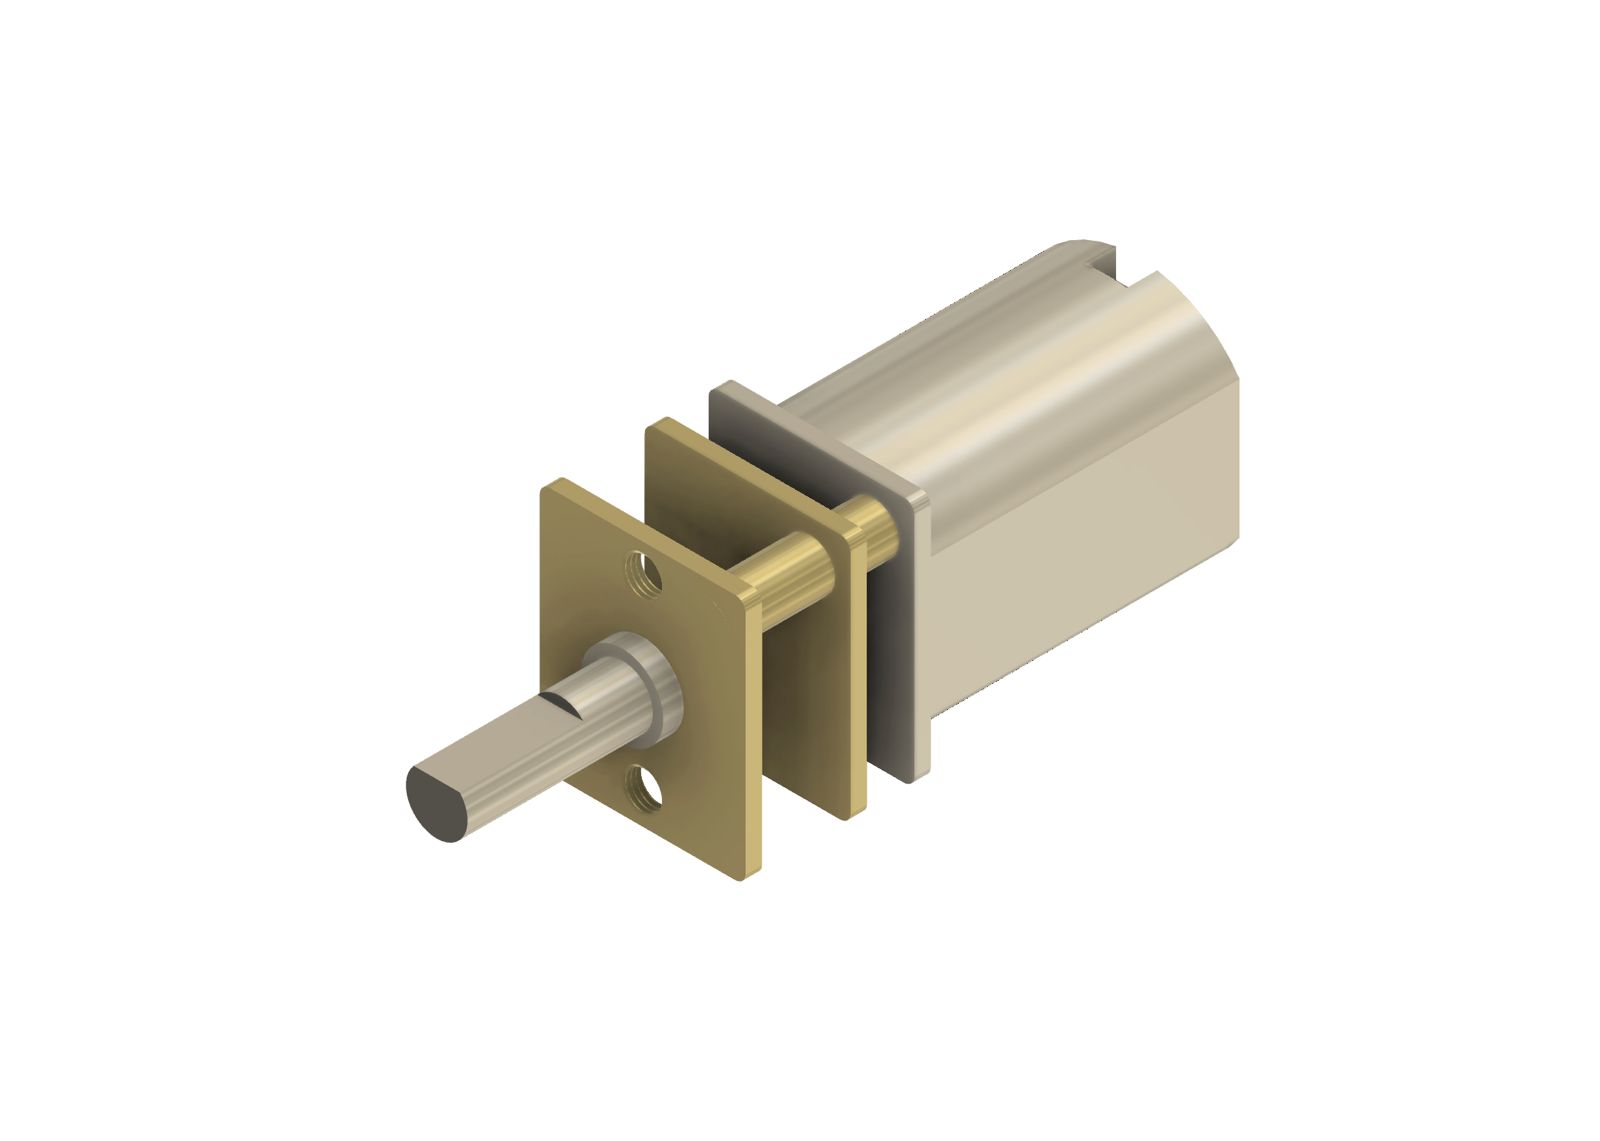
Motors & wheels
Mount the two motors and fit the drive and idler wheels.
The tracks
Build up the tracks link by link around the wheels.
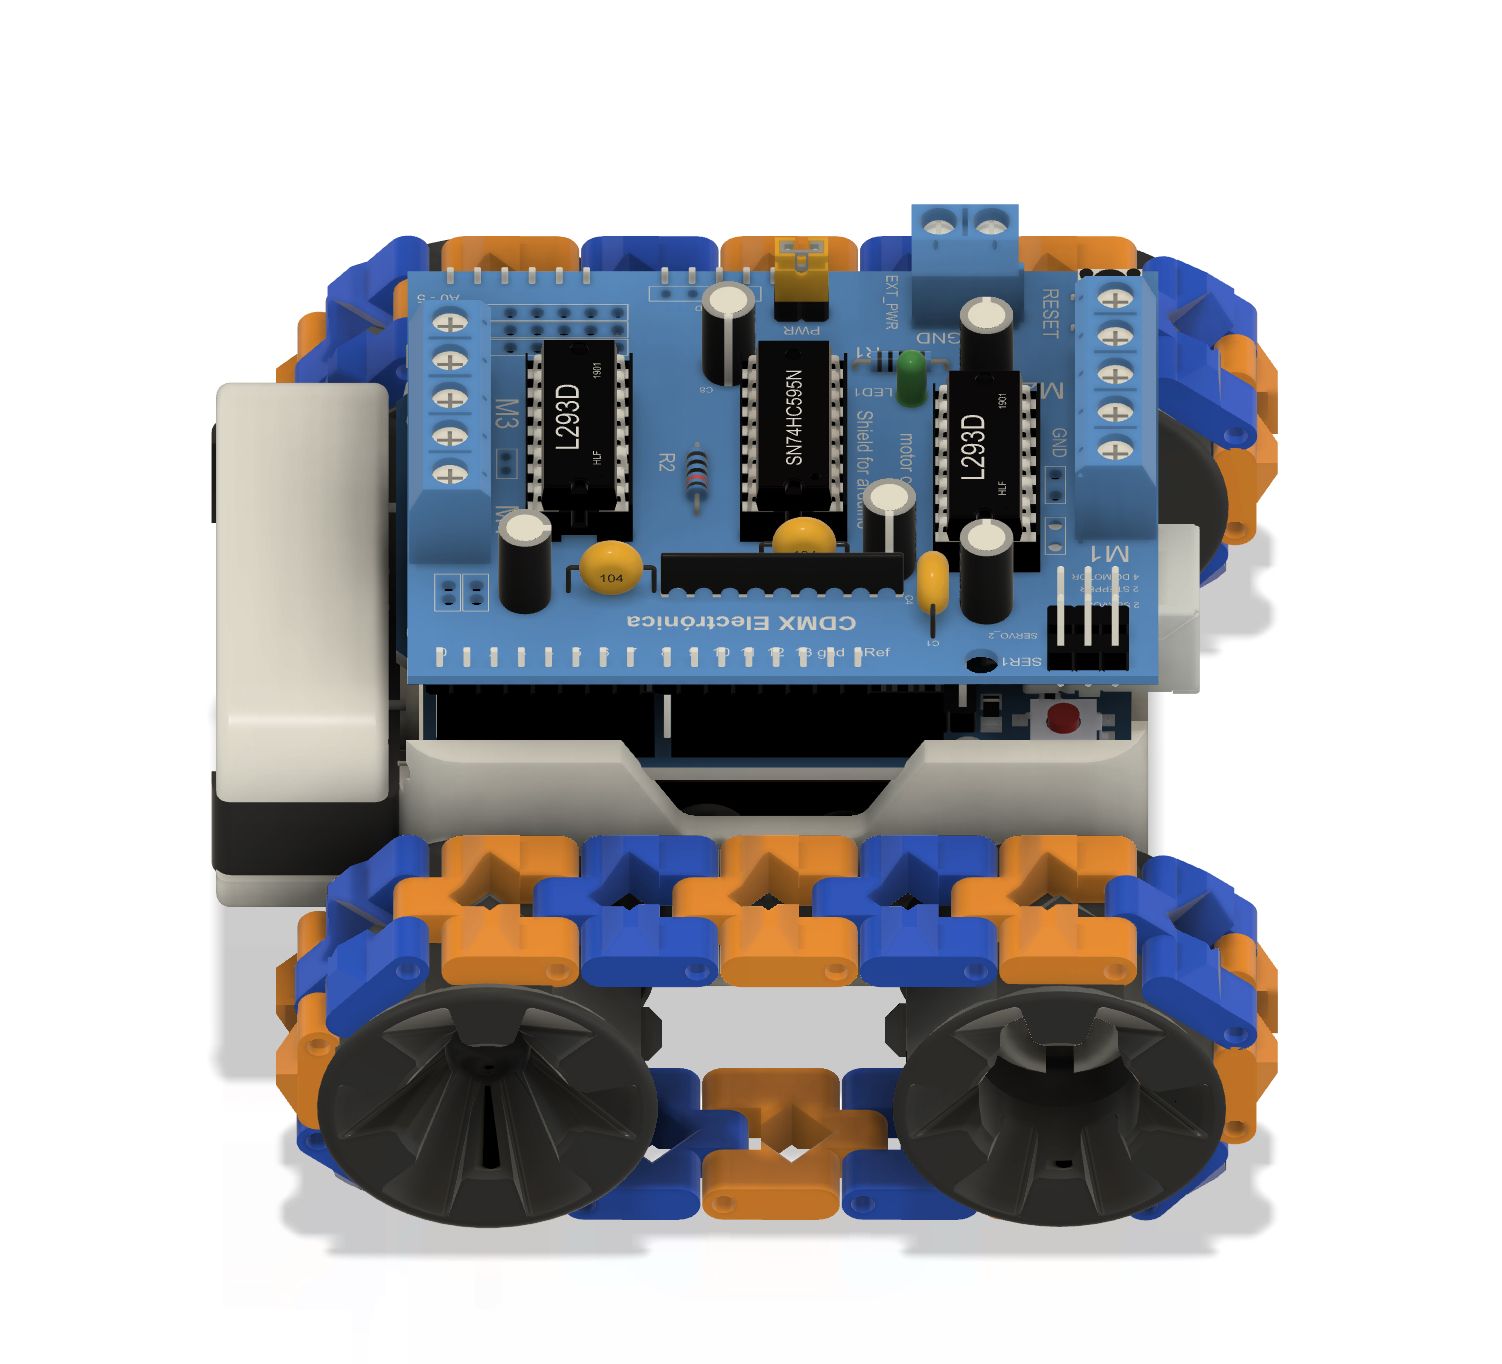
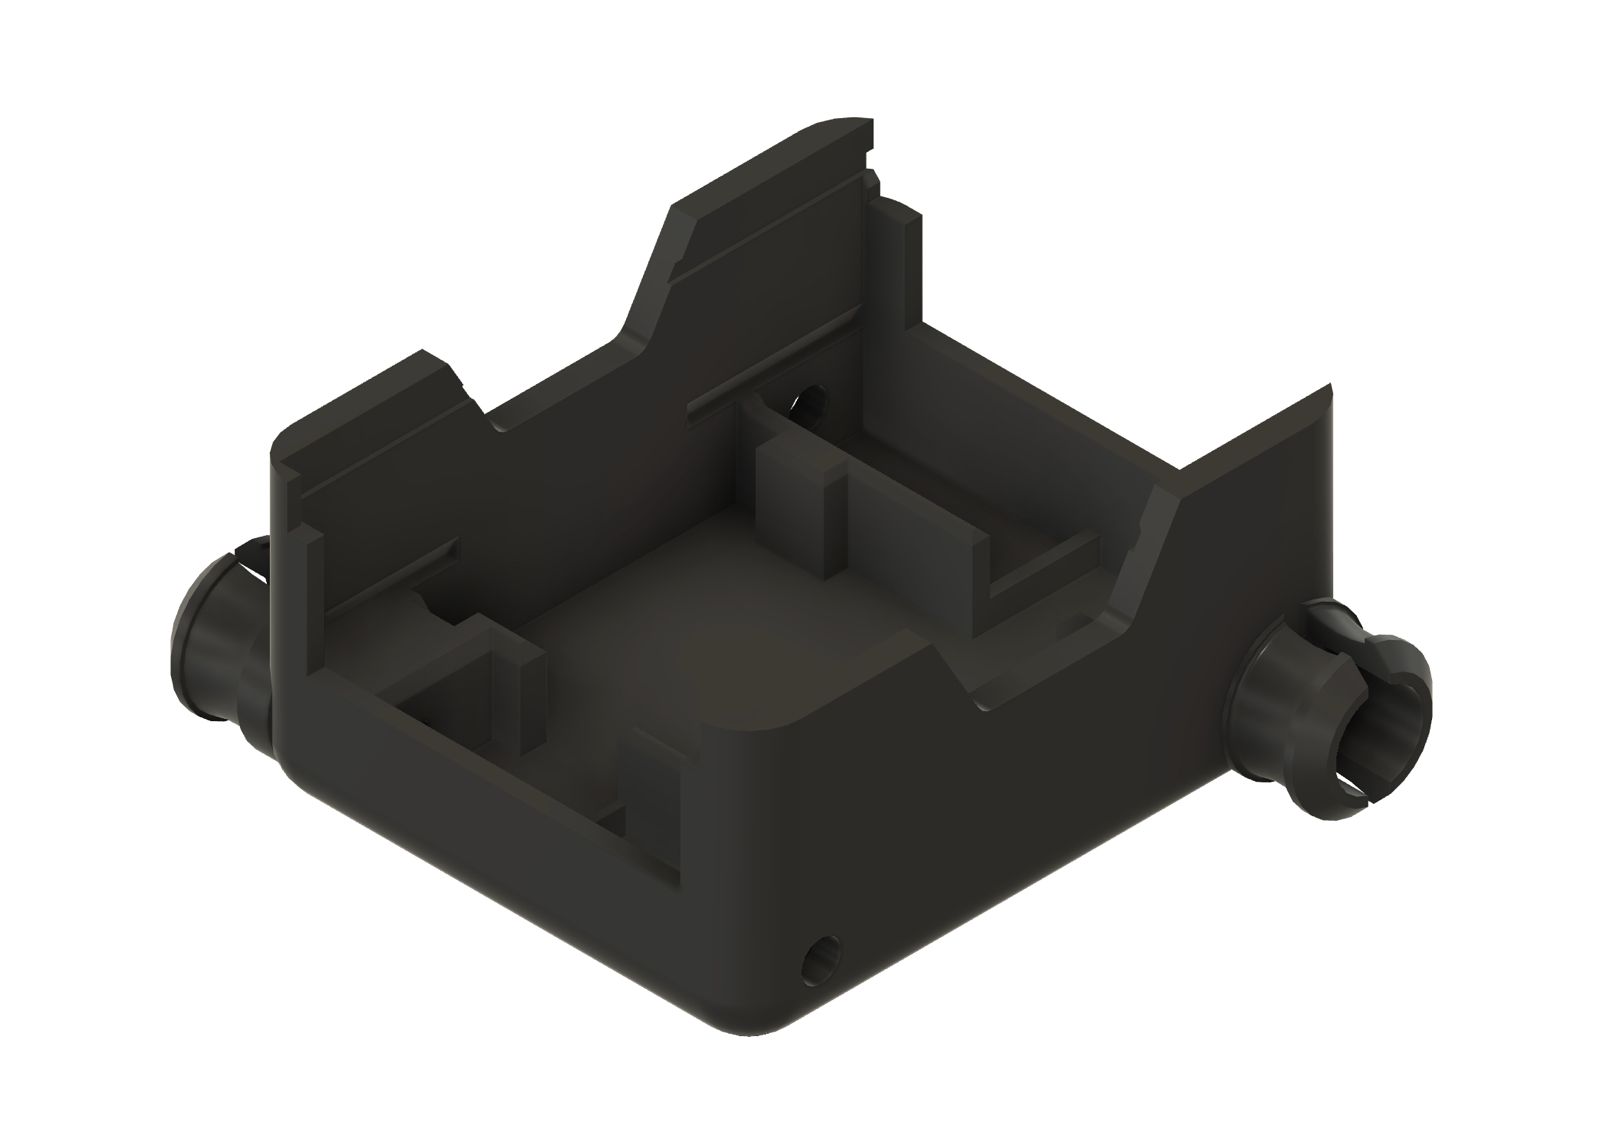
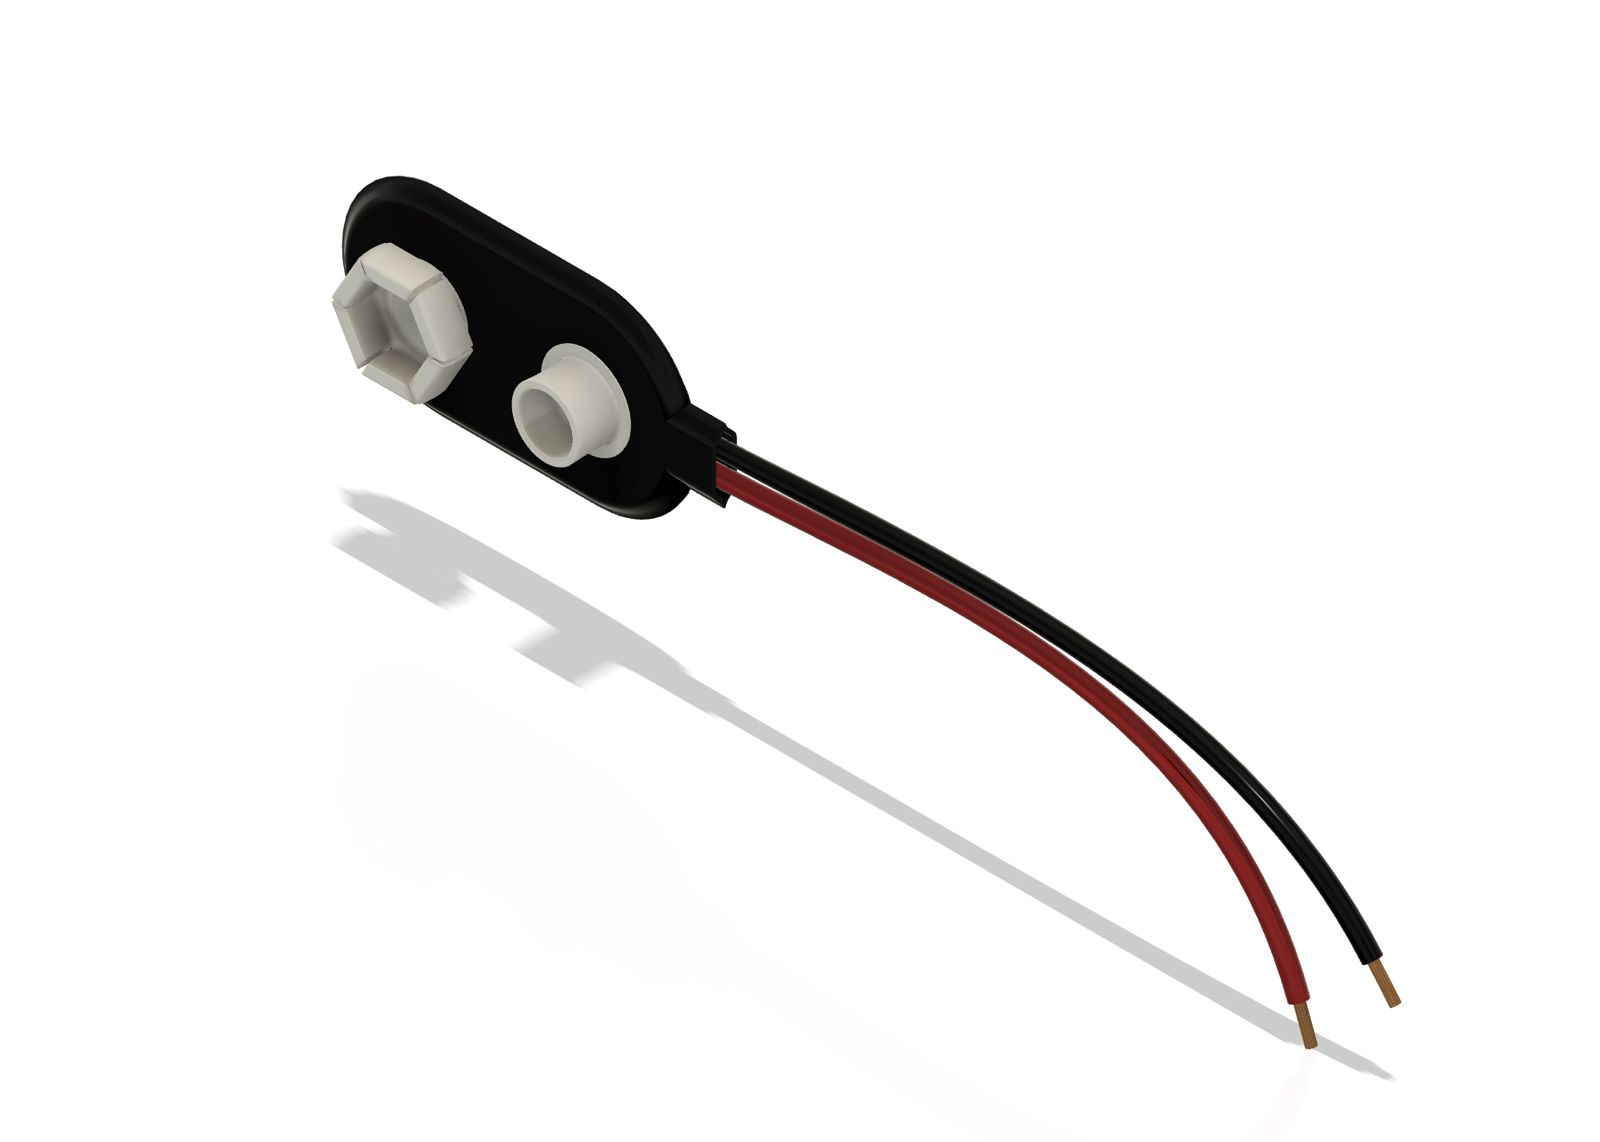
Electronics
Place the Arduino board and the battery on their mount, then connect the motors.
Off it goes!
Upload the sample program, power it on, and watch the robot drive.
See how it goes together: follow the interactive 3D assembly guide — rotate the model and move forward piece by piece, at your own pace.
3D assembly guide